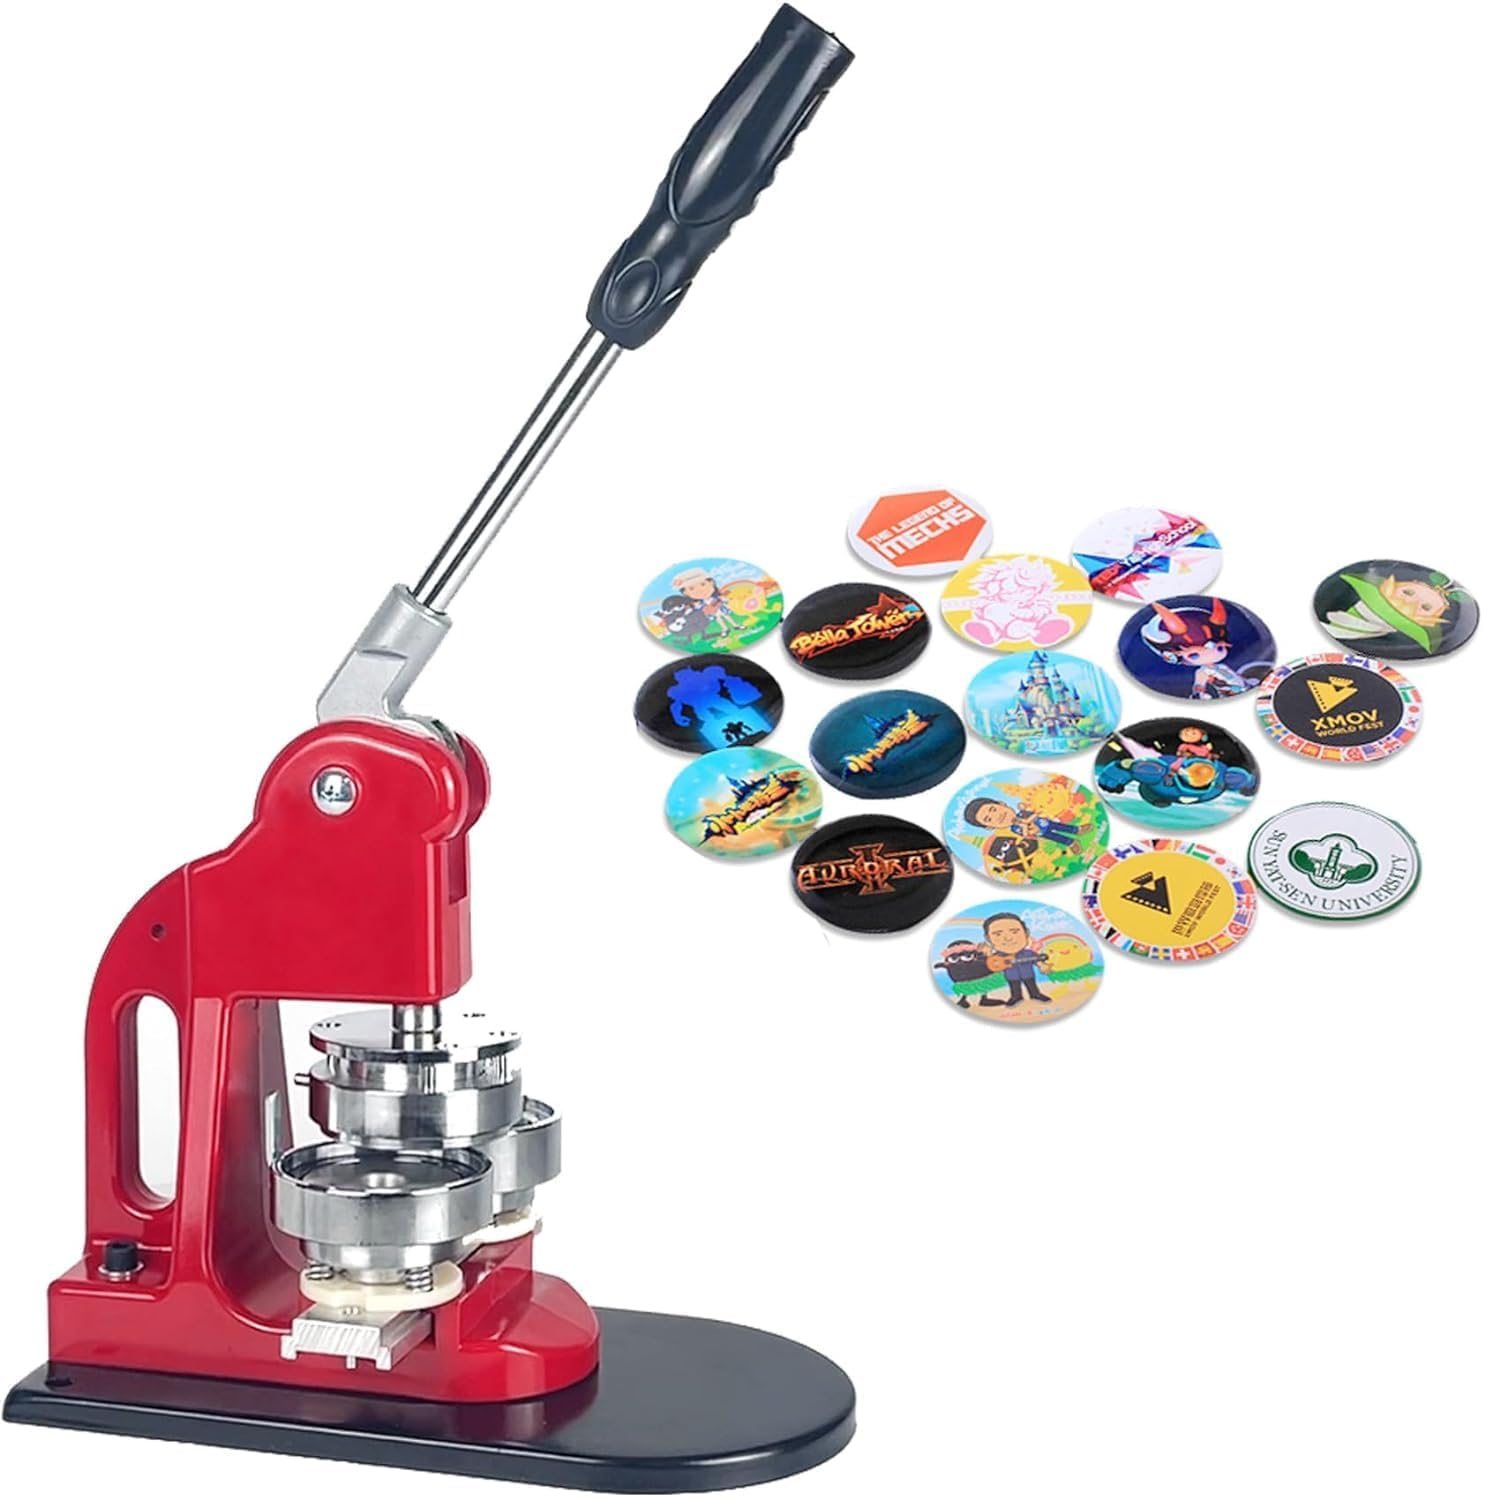
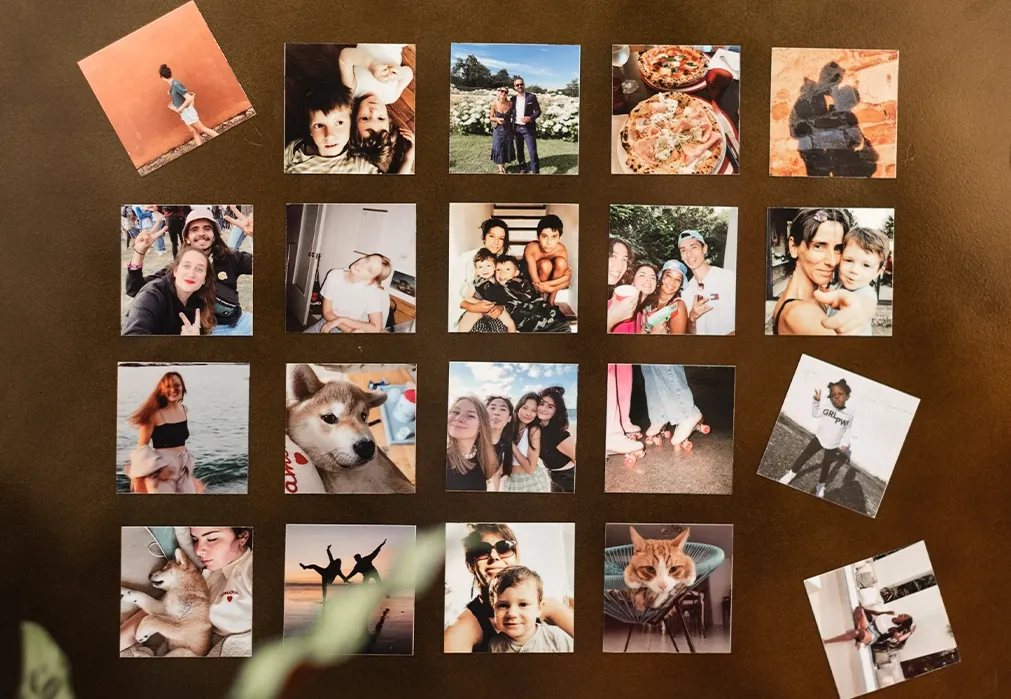
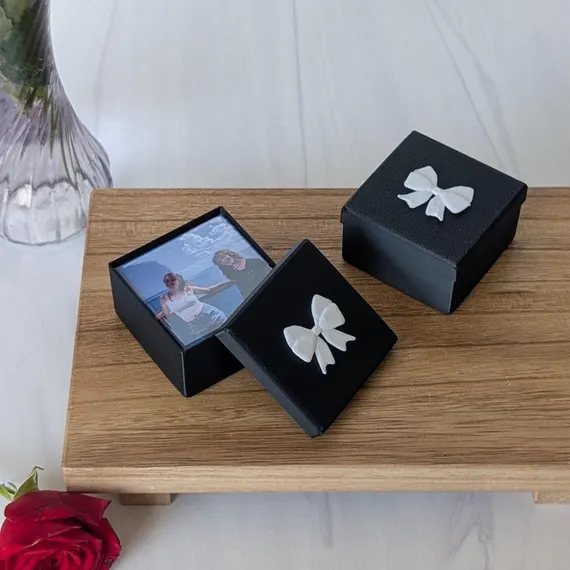
Making a custom photo magnet is one of those rare crafts that is genuinely easy to learn and genuinely hard to mess up, once you know the handful of details that matter. This Memory Magnets tutorial assumes you have a desktop magnet making machine with a matched die, but the photo preparation advice applies no matter how your magnets get pressed. Total active time for your first batch: about 15 minutes.
What you need
- Magnet press + die
- Metal shells
- Acrylic or mylar covers
- Magnetic backs
- Photo paper (115–135 gsm)
- Inkjet printer
- Matching cutter
Step 1: Choose and prepare your photos
Great magnets start with the right photos. Look for images that are bright, sharp, and simple. One clear subject reads far better at fridge distance than a busy group scene. Natural daylight shots are your best friends; avoid dark, noisy indoor photos, which turn muddy in print.
Crop with headroom. The shell's crimped edge overlaps the print slightly, so keep faces, text, and important details at least 10% in from every edge. If you are making square magnets, crop to a perfect square now rather than letting the cutter decide. Finally, nudge saturation and contrast up by roughly 5–10%, because the glossy cover subtly mutes colors, and this small boost brings them back to life.
Step 2: Print on proper photo paper
Load 115–135 gsm glossy or satin photo paper and set your printer's media type to "photo paper" with the highest quality mode selected. This single setting changes how much ink the printer lays down and makes a visible difference in color depth. Print a full sheet of candidates at once, a batch of nine or twelve, so you can press a whole set in one session. Let the prints dry for a few minutes before handling; fresh ink can smudge under the cover.
Step 3: Cut the prints to size
Precision matters here. A print that is even a millimeter off will sit crooked in the die and produce a lopsided crimp. The matching cutter that ships with most kits punches a perfectly sized print in one squeeze. Line the photo up in the guide window, squeeze, and done. If you are trimming by hand, use a metal ruler and a fresh craft blade on a cutting mat, and measure twice.
Step 4: Load the die
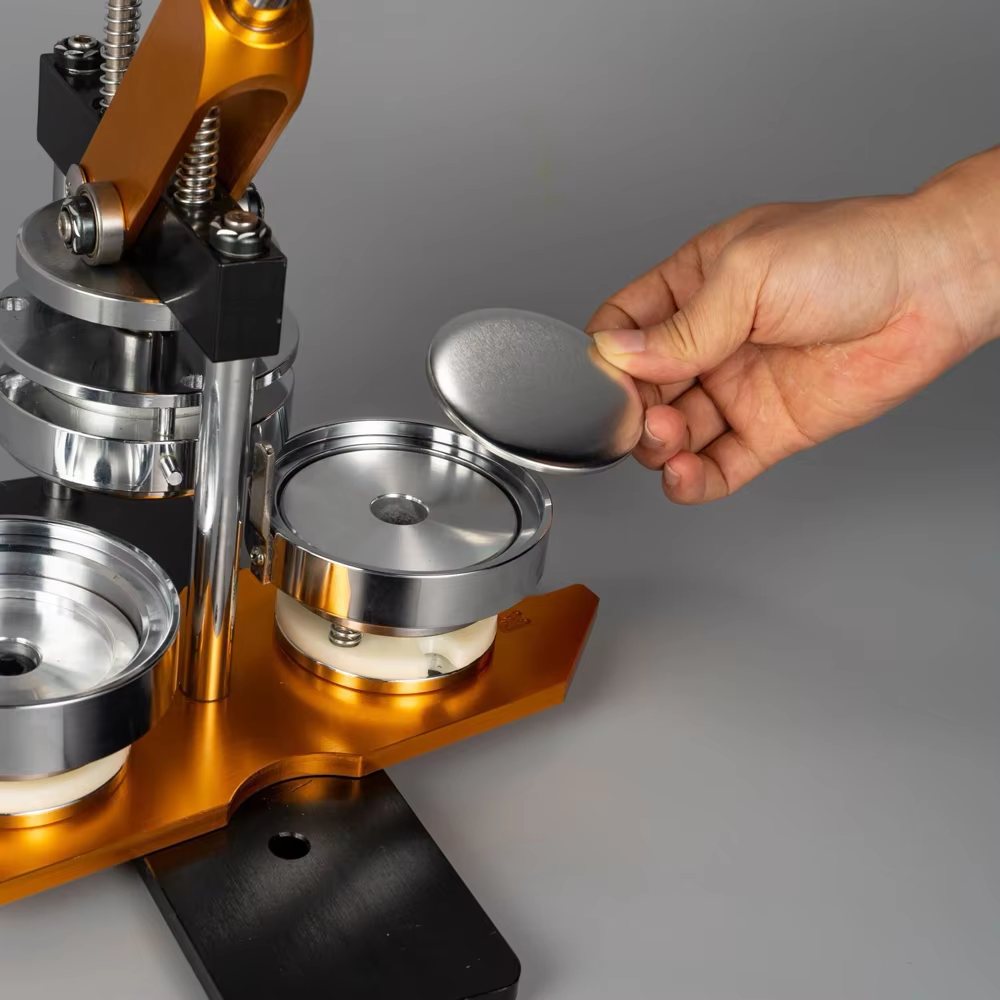
The layering order is the one thing you must get right, and it quickly becomes muscle memory. Into the lower die goes the metal shell, open side up. On top of it sits your print, face up. Double-check the orientation before you go further, because upside-down magnets are a rite of passage every maker experiences exactly once. Over the print goes the clear cover. Everything should sit flat and centered with no overhang.
Step 5: Press the magnet
Position the magnetic back in the upper die (or as your machine's manual directs, designs vary slightly). Now pull the lever in one smooth, confident motion all the way down and release. Hesitation mid-press is the most common beginner error: it can leave a faint line across the cover. You do not need enormous strength, the machine's leverage does the work, you just need a single, complete stroke. Rotate or slide the die as your model requires and press again if it uses a two-stage crimp.
Step 6: Inspect, wipe, and admire
Pop the finished magnet out and check three things: the crimped edge should be even all the way around, the cover should be free of bubbles and dust specks, and the magnet should grip the fridge firmly. Wipe the cover with a soft dry cloth to remove fingerprints. That is it. Your first memory magnet is done, and every one after this will take under thirty seconds.
The five mistakes every beginner makes (so you don't)
- Upside-down prints. Check orientation before every press, not after.
- Dust under the cover. A single speck is magnified by the glossy cover. Work on a clean surface and handle prints by the edges.
- Half-hearted lever pulls. Commit to one full, smooth stroke.
- Wet ink. Give prints five minutes to dry before pressing.
- Wrong paper. Office paper absorbs ink unevenly and looks flat. Photo paper is non-negotiable.
Curious about the craft behind the materials? Our complete photo magnet guide dives deeper into sizes, covers, and magnetic backs, and the FAQ answers the questions that come up most often in the workshop.