How a magnet making machine works
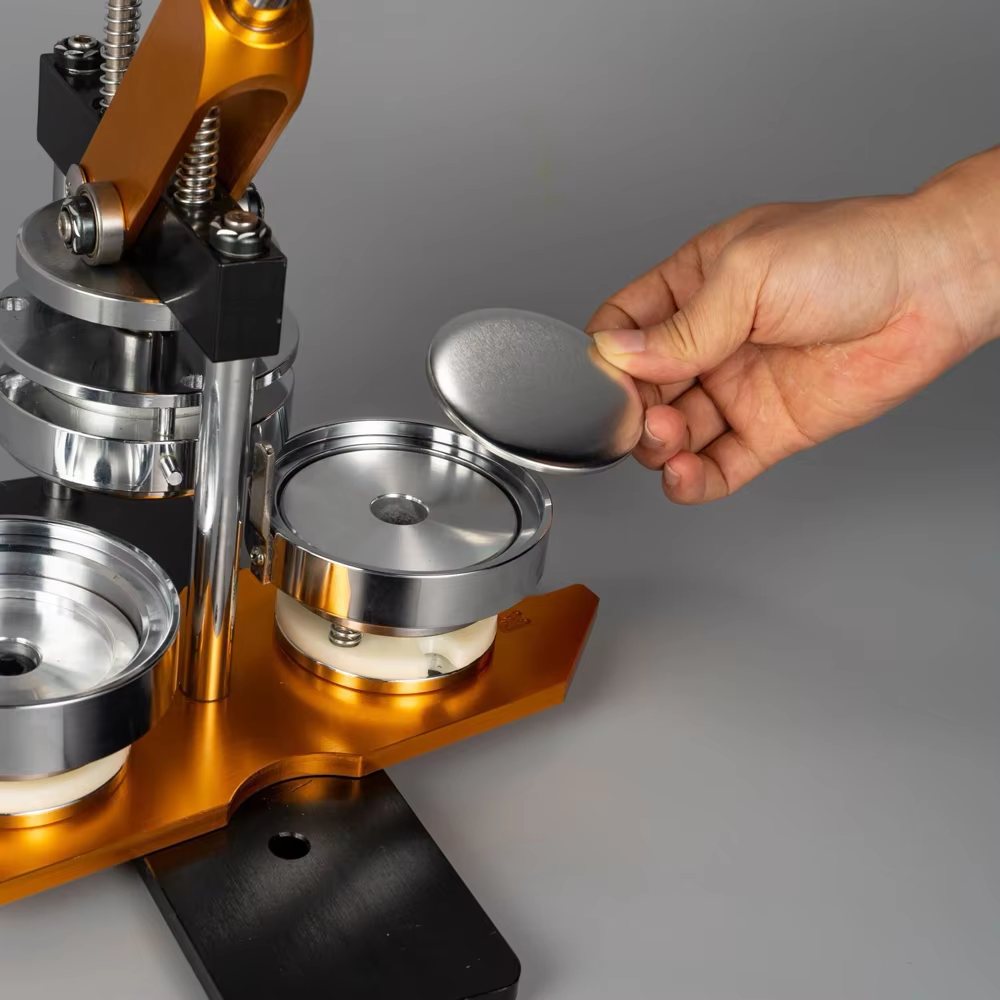
At Memory Magnets we work with these machines every day, so let's start simply: a magnet making machine, also called a photo magnet press or magnet maker, is a precision crimping tool. You stack four components into its die: a metal shell, your printed photo, a clear acrylic or mylar cover, and a magnetic back. One firm pull of the lever drives the upper and lower dies together with several hundred pounds of perfectly even pressure, folding the shell's edge over the stack and sealing everything into a single, finished memory magnet.
The magic is in the die, not the force. A machined steel die set distributes pressure evenly across the entire face of the magnet, which is why machine-pressed magnets have that flawless, bubble-free, factory look that no amount of hand-pressing or gluing can match. It is also why the process is so repeatable: once your die is set, magnet number one and magnet number five hundred come out identical. A comfortable maker presses a finished magnet every twenty to thirty seconds.
Die sizes and formats explained
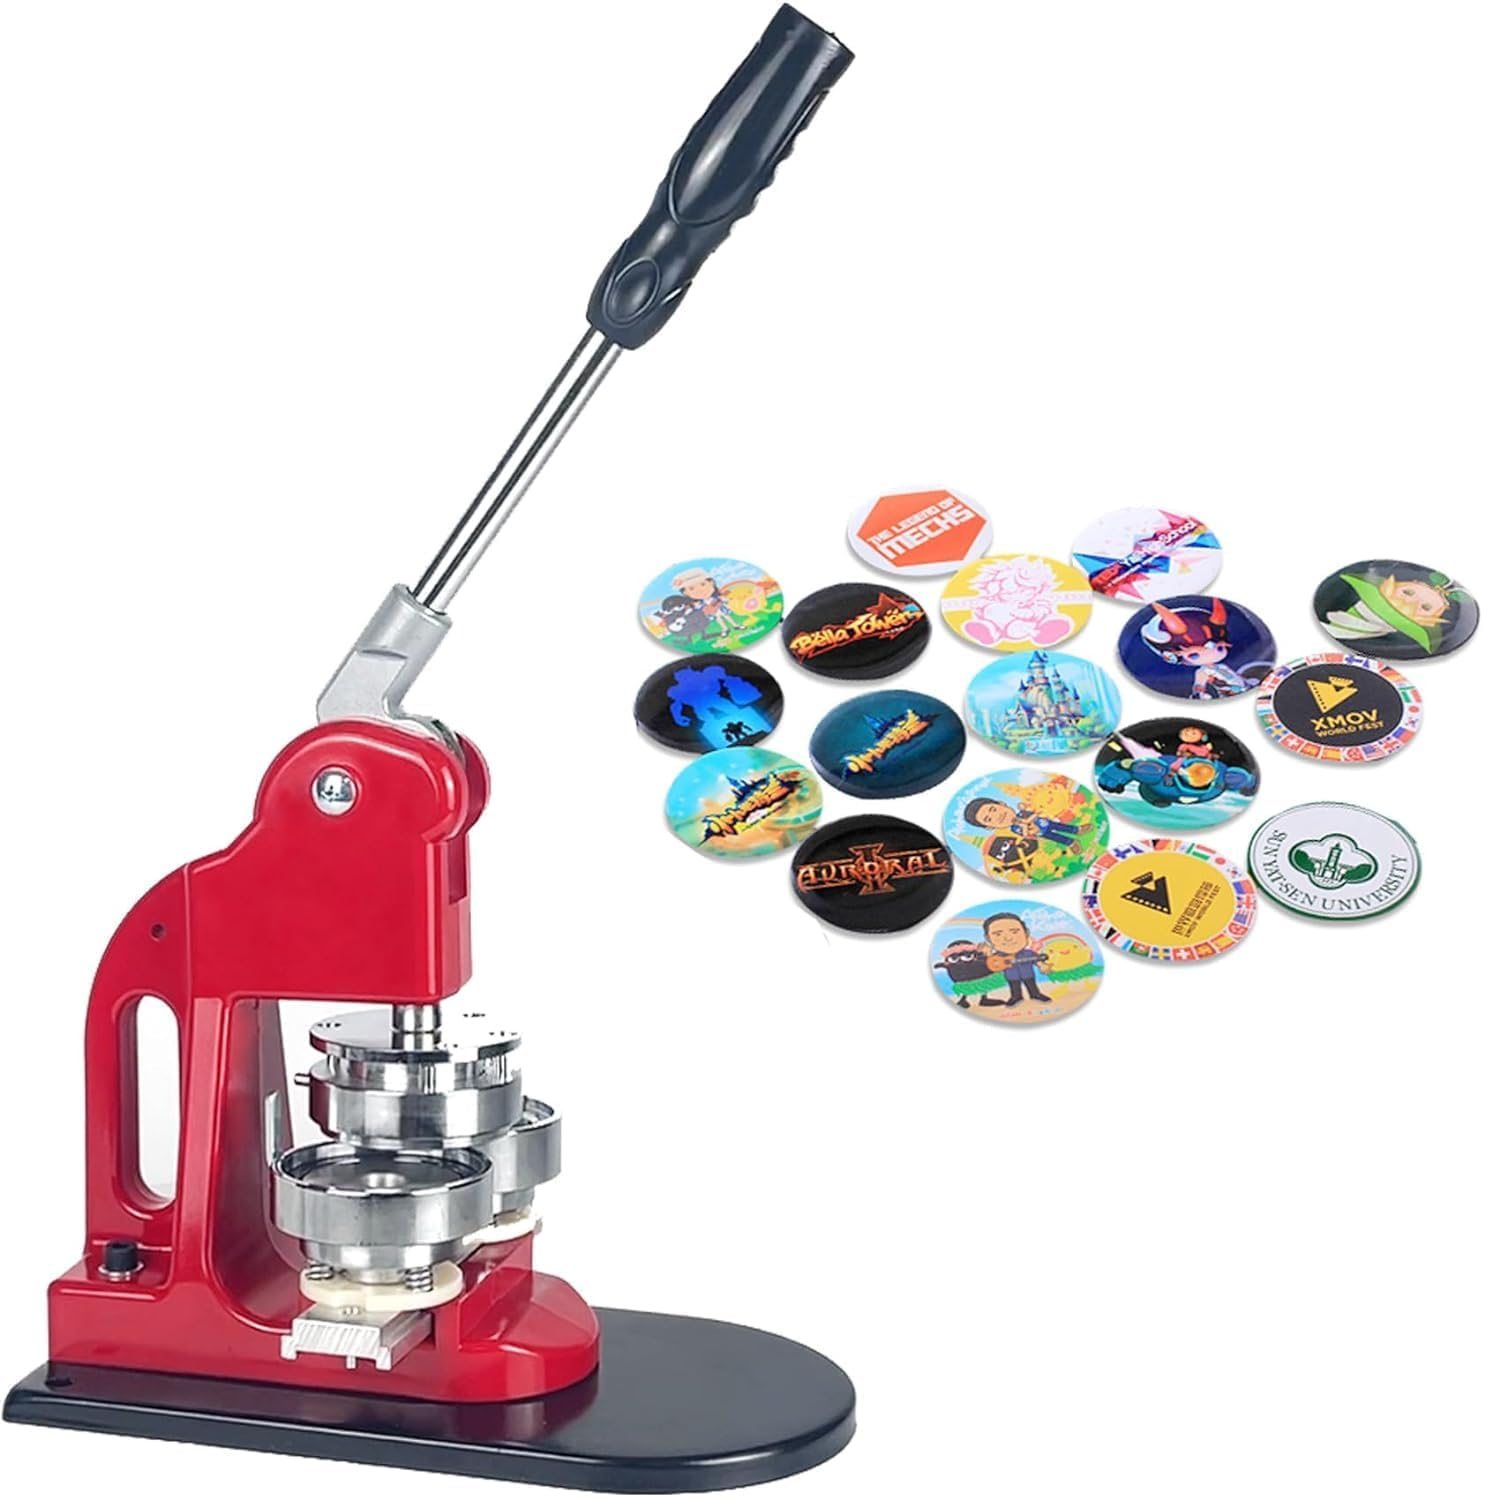
The die defines your magnet's size and shape forever. Dies are precision parts and a single machine is typically built around one format. That makes the die size the most important decision you will make. Here is what the common formats mean in practice:
| Die format | Finished magnet | Best suited for |
|---|---|---|
| 2 × 2 in | Square | Fridge grid sets, Instagram prints, gifts |
| 2 × 3 in | Rectangle | Wedding favors, portraits, save-the-dates |
| 2.5 × 2.5 in | Square | Premium gift sets, pet portraits |
| 2.5 × 3.5 in | Rectangle | Photo-plus-text designs, business promos |
| 2.25 in | Round | Badges, logos, kids' artwork |
Kits built around these dies typically arrive with everything needed for day one: the press itself, the die set, a matching paper cutter, and a starter pack of shells, covers, and magnetic backs. Entry kits for a single format generally start around the $1,300–$1,700 range for professional-grade equipment, with refill supply packs costing cents per magnet thereafter.
Manual vs. pneumatic presses
Manual lever presses are where almost everyone should start. They need no electricity, no compressor, and almost no maintenance; they sit on any sturdy table; and they are quiet enough to run in a spare bedroom at midnight. For volumes up to a few hundred magnets a day, which covers the vast majority of home businesses, a manual press is not a compromise at all. It is the right tool.
Pneumatic presses swap your arm for compressed air. They cost significantly more, need an air compressor, and make sense only when you are pressing thousands of magnets per day, think fulfillment for a busy online store with staff. If you are reading this guide to buy your first machine, a manual press is the answer, and the money you save is better spent on supplies and marketing.
The supplies every machine needs
The machine is a one-time purchase; supplies are the ongoing cost, and thankfully they are cheap. Each magnet consumes:
- One metal shell matched to your die size,
- One clear cover: acrylic for a glass-like premium finish, mylar for economy,
- One magnetic back: full-coverage rubber for standard hold, neodymium discs for heavy-duty hold,
- One printed photo: glossy photo paper, 115–135 gsm, trimmed to size.
Bought in bulk refill packs, these consumables land around $0.40–$0.80 per finished magnet depending on cover and magnet choices. Compatibility is broad: most kits work happily with acrylic, cardboard-backed, and restickable magnet components, so you can offer multiple product lines from a single machine.
How to choose your first machine
Five questions cut through the marketing and get you to the right kit:
- What will you make most? Gift-grid sets point to 2 × 2. Wedding work points to 2 × 3. Choose the die for your main product, not for hypothetical ones.
- What is the die made of? Machined steel dies outlast cast or aluminum ones by years. Ask before buying.
- What warranty backs it? A lifetime warranty on the press mechanism is the industry gold standard and a strong signal of build quality.
- Are refills easy to buy? A machine is only as good as its supply chain. Confirm shells, covers, and backs are stocked in bulk before committing.
- Is training included? Step-by-step guidance, videos, templates, support, shortens your learning curve from weeks to hours.
Care and maintenance
Magnet presses are refreshingly low-maintenance, but three habits keep them pressing perfectly for decades. Keep the die faces clean. A wipe with a dry cloth after each session prevents paper dust from marking covers. Add a drop of light machine oil to the pivot points every few months. And store the machine dry; humidity is the only real enemy of steel tooling. Treat it like a good kitchen knife and it will outlast your business.
Once your machine arrives, head to our hands-on tutorial. It walks through your first batch step by step, including the beginner mistakes to avoid.