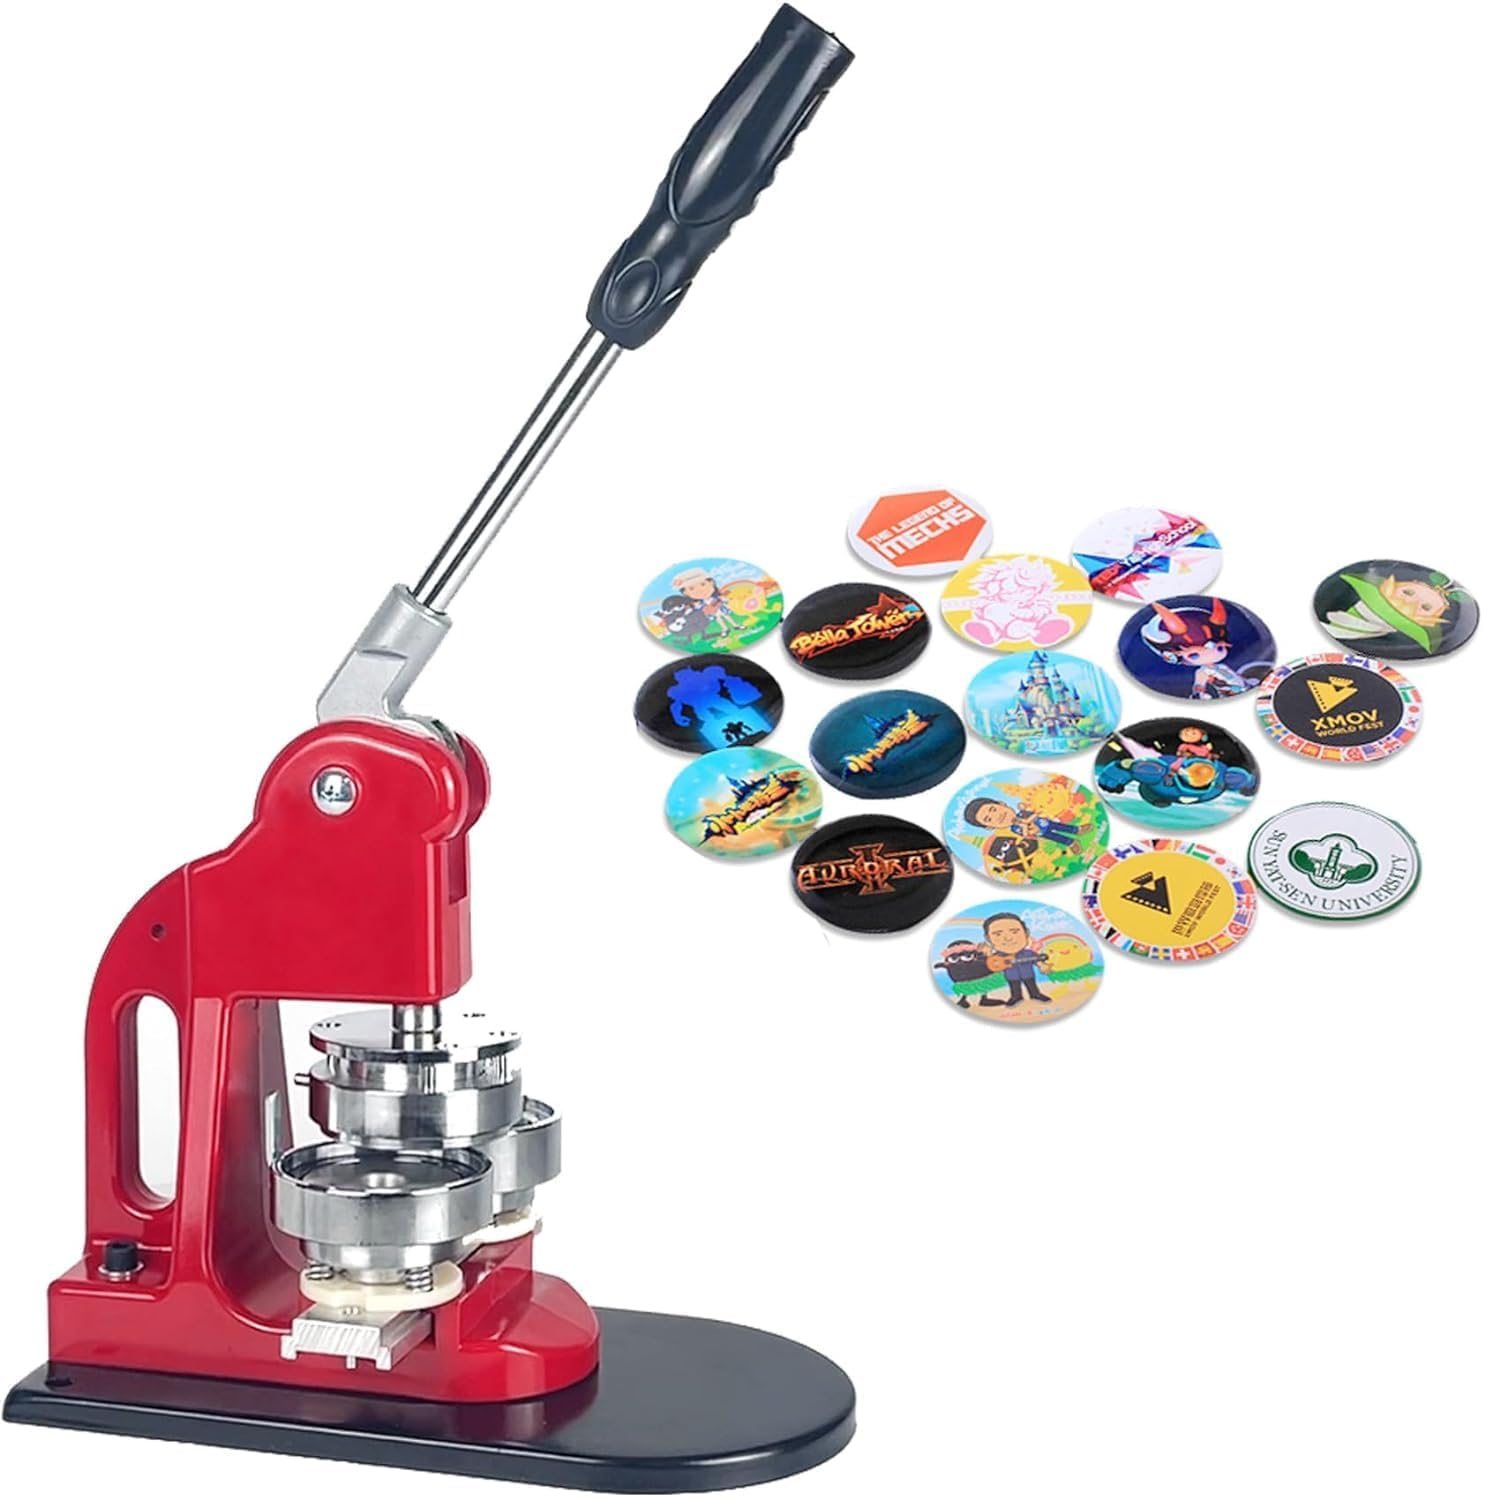
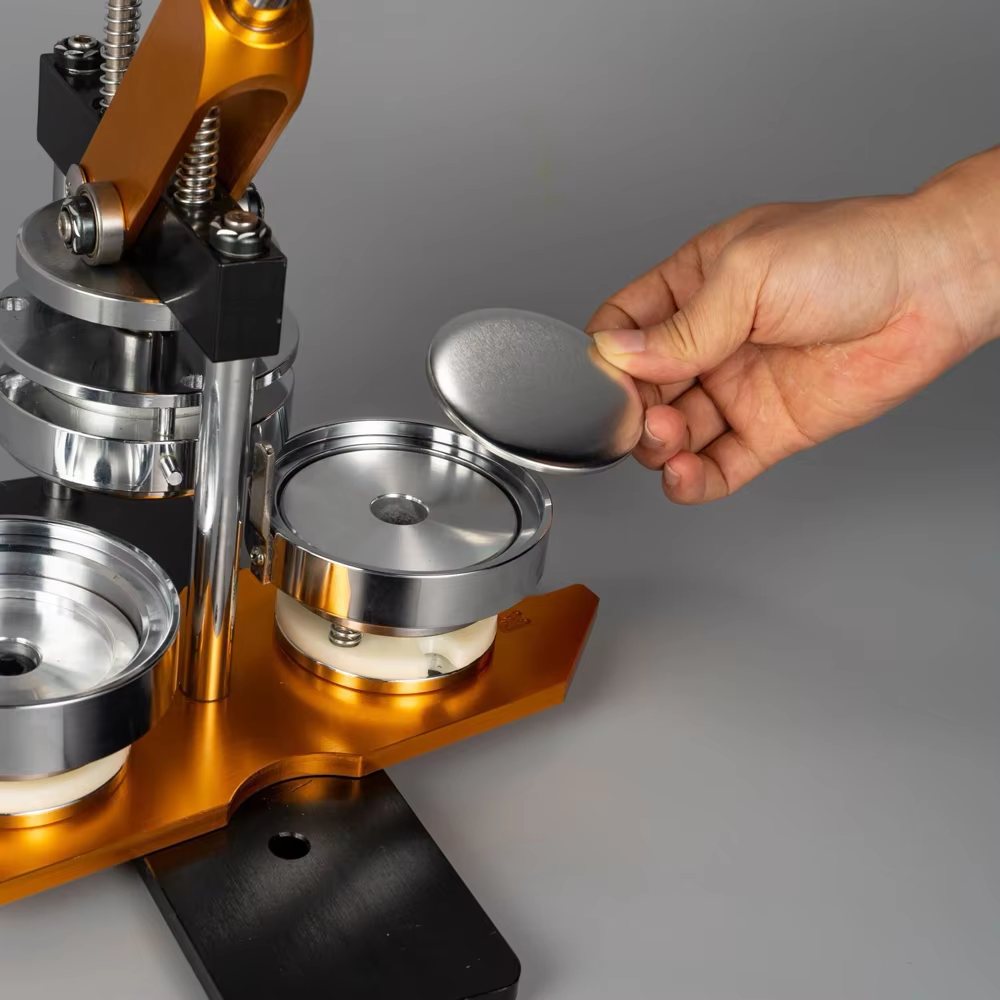
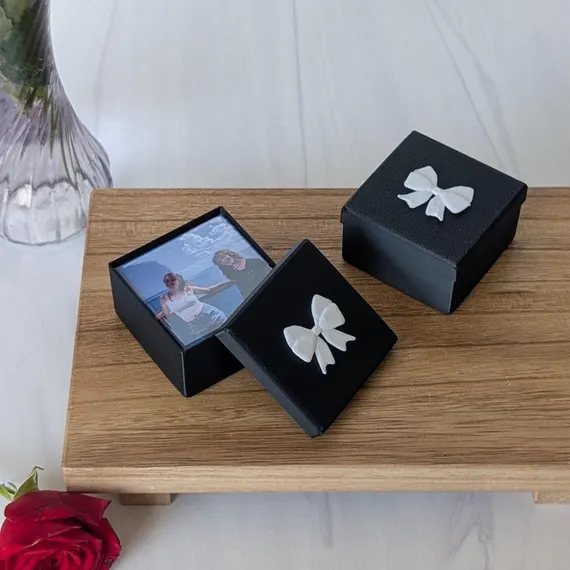
Type "custom photo magnets" into any marketplace and you will find thousands of results at wildly different prices, and wildly different quality. Some are gorgeous little objects that look like miniature framed prints. Others are thin, washed-out stickers that curl at the corners within a month. This Memory Magnets guide explains exactly what separates the two, so whether you are ordering memory magnets from a maker or pressing your own with a magnet making machine, you know precisely what "good" looks like.
The anatomy of a quality photo magnet
A premium memory magnet is a small sandwich of four layers, and every layer matters:
- The metal shell. A tin-plated steel shell gives the magnet its rigidity and its satisfying, slightly weighted feel. Cheap magnets skip the shell entirely, which is why they bend.
- The printed photo. This should be a true photographic or high-resolution inkjet print on proper photo paper, not a photocopy on office paper. Paper weight and coating directly control how rich the colors look.
- The clear cover. A transparent acrylic disc or mylar film protects the print from moisture, grease, and fading. This is what gives memory magnets their glossy, almost glass-like finish and makes them wipeable in a kitchen environment.
- The magnetic back. Quality magnets use a full-coverage rubber magnet or a set of strong neodymium discs. Full-back magnets hold several sheets of paper; weak single-dot magnets slide down the fridge under their own weight.
When all four layers are pressed together under a precision die, the result is a sealed, durable object that survives years of kitchen humidity, curious toddlers, and daily handling.

Magnet sizes and when to use each
Size is the first decision every magnet maker faces, and it shapes everything else: the machine die you need, the photo crop, and the price you can charge. Here is how the most popular formats compare:
| Size | Shape | Best for | Notes |
|---|---|---|---|
| 2 × 2 in | Square | Grid walls, Instagram-style sets | The modern classic; photos crop naturally to square |
| 2 × 3 in | Rectangle | Portraits, wedding favors | Matches standard photo ratios; elegant look |
| 2.5 × 2.5 in | Square | Premium gift sets | Slightly larger canvas; feels substantial |
| 2.5 × 3.5 in | Rectangle | Trading-card style prints, save-the-dates | Big enough for text plus a photo |
| 2.25 in | Round | Logo magnets, kids' art, badges | Uses standard button-maker supplies |
If you are just starting out, the 2 × 2 inch square is the safest choice. Phone photos crop to square effortlessly, sets of nine arrange into a beautiful grid on the fridge, and the format is small enough that material costs stay low while you learn.
Materials: acrylic, mylar, and magnetic backs
The clear cover is the layer most beginners overlook, and the one customers notice first. Acrylic covers are rigid little discs that give the magnet a premium, glass-like depth; they are the standard for gift-quality sets. Mylar film is thinner and cheaper; pressed correctly it still looks glossy, but it can show tiny dimples over textured prints. For anything you plan to sell, acrylic is worth the small price difference.
On the back, you have two honest choices. A full-coverage rubber magnet holds the magnet itself plus a couple of papers, feels professional, and costs less. Neodymium disc magnets are dramatically stronger, strong enough to hold a thick stack of notes, but cost more per unit and are usually reserved for premium or "heavy duty" product lines. Many successful sellers offer both: standard hold for gift sets, strong hold as an upsell.
Getting great print quality from phone photos
The single biggest myth about photo magnets is that you need a fancy camera. You do not. A 2 × 2 inch print at photo quality needs roughly 600 × 600 pixels; every phone made in the last decade captures ten times that. What actually determines quality is this:
- Light. Photos taken in bright, natural light print beautifully. Dark, noisy indoor shots look muddy when shrunk onto a magnet.
- Crop headroom. Remember the edges get crimped under the shell. Keep faces and key details at least 10% away from every edge of the frame.
- Paper. Glossy or satin photo paper in the 115–135 gsm range gives the richest result. Plain copy paper looks flat and absorbs ink unevenly.
- Printer settings. Always select the "photo paper" media type and the highest quality mode. It uses more ink, and it shows.
- Color. Slightly bump saturation and contrast before printing, because the clear cover mutes colors a touch, and a small boost compensates perfectly.
Design ideas that people love
After watching thousands of sets get made, clear patterns emerge in what people treasure most. Themed grids outperform random assortments every time: nine photos from one trip, one wedding, one baby's first year. Milestone sets like "twelve months of you" are the most re-ordered gift we know of. Pet portraits are unstoppable. And minimalist designs with a small date or place name printed in a corner feel personal without cluttering the photo.
What rarely works: heavy filters, tiny text, and collages crammed with six faces per magnet. A memory magnet is viewed from three feet away, every day. Simplicity wins.
Photo magnets as gifts
Custom photo magnets solve the hardest gifting problem: something personal that is not expensive, not fragile, and not destined for a drawer. They ship flat, they suit every age, and they carry genuine emotional weight. The occasions that drive the most orders are weddings (favors and thank-you sets), new babies (grandparent gifts), graduations, memorials and celebrations of life, and the winter holidays. If you are thinking about turning this demand into income, our photo magnet business guide breaks down the numbers honestly.
Ready to make your own? The step-by-step tutorial takes you from photo selection to finished magnet in about fifteen minutes.